
Workflow automation is a game-changer, and n8n is a leading open-source platform that empowers you to connect apps and build powerful, automated workflows. While there are many ways to install it, using a n8n Docker setup is by far the most popular method for its portability, scalability, and isolation.
However, many guides focus on complex docker run commands in the terminal. What if you want a visual, straightforward approach?
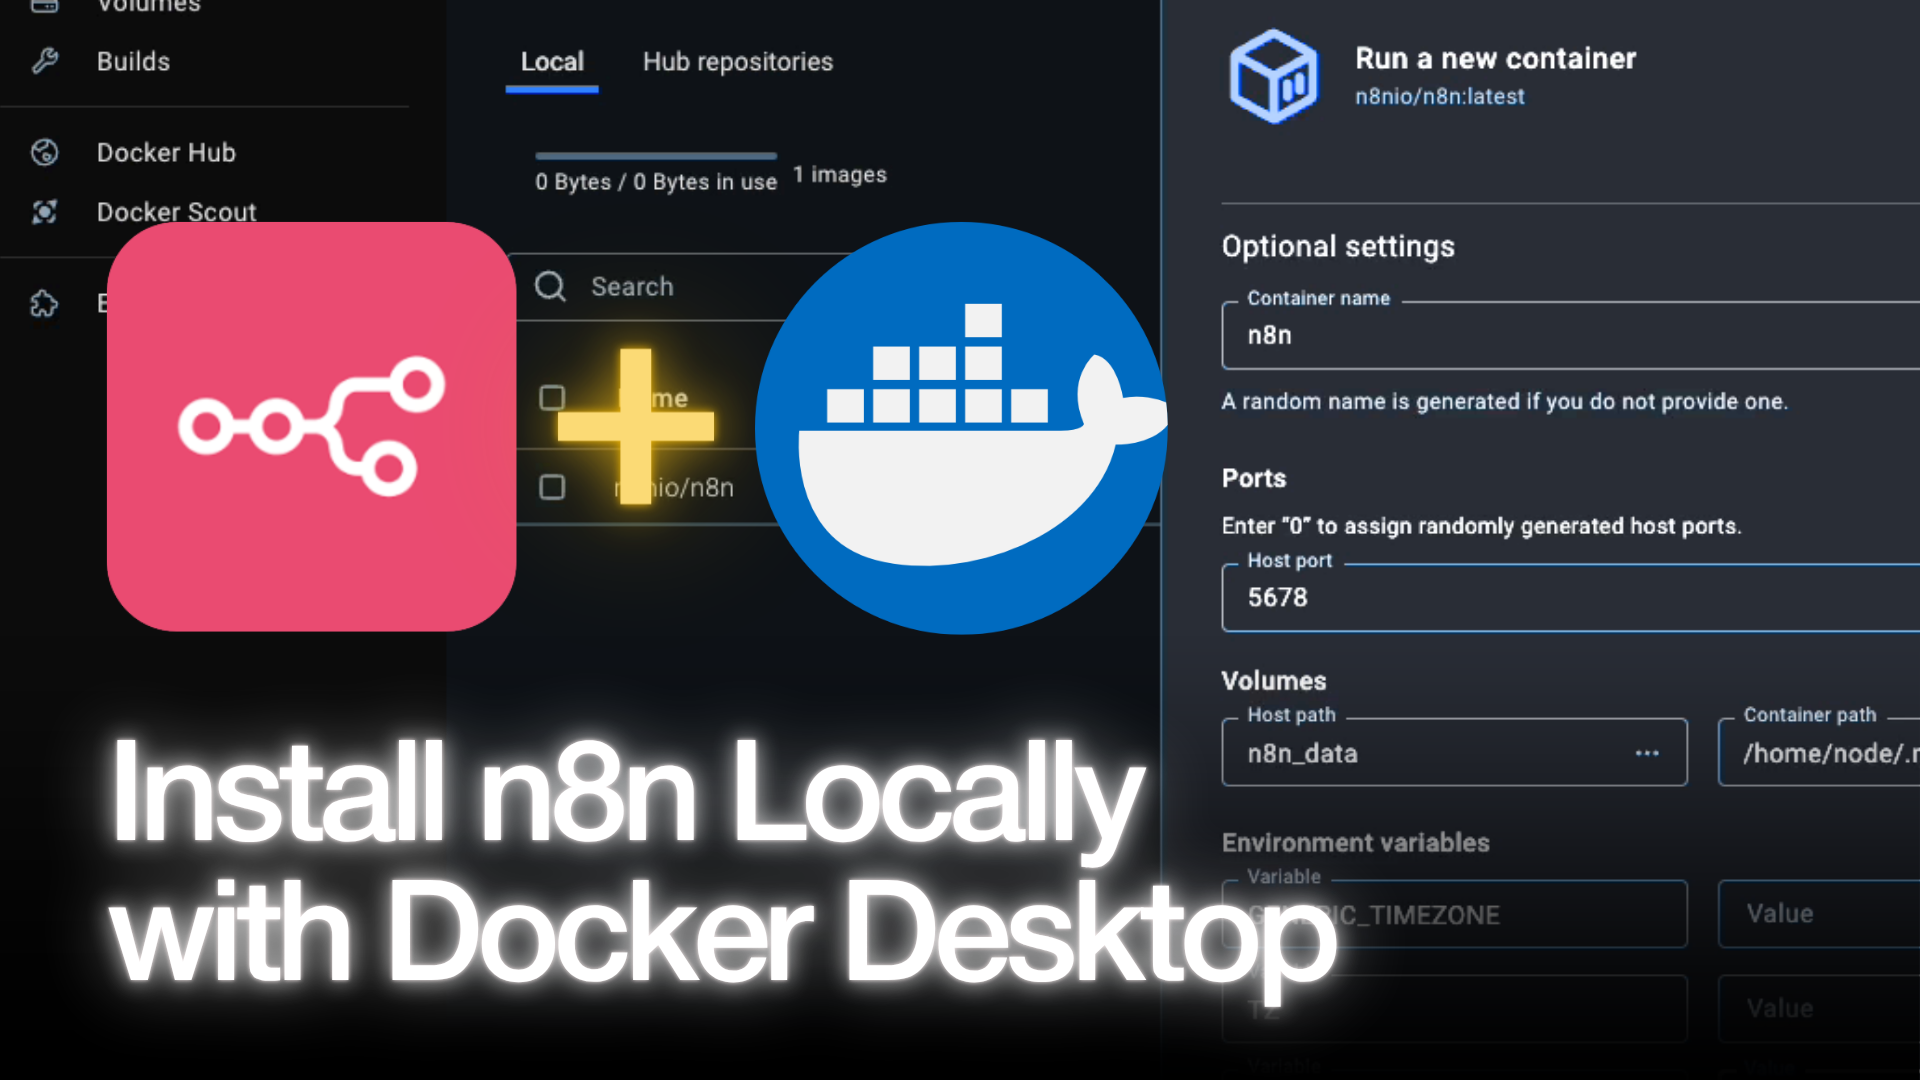
This guide will show you how to install n8n using Docker Desktop in under five minutes. We'll skip the command line and use the graphical user interface (GUI) for a simple, fast, and repeatable setup.
Prerequisites
Before we begin, make sure you have one thing ready:
- Docker Desktop Installed: This guide is specifically for the Docker Desktop application. If you don't have it, download it from the official Docker website for your operating system (Windows, macOS, or Linux).
Step 1: Create a Persistent Docker Volume for n8n Data
This is the most critical step for a reliable n8n Docker instance. A Docker Volume is a dedicated storage location that exists outside your container.
Why is this important? It ensures that all your workflows, credentials, and settings are saved even if you stop, remove, or update the n8n container. Without it, you would lose all your data every time the container restarts.
- Open Docker Desktop.
- Navigate to the Volumes tab in the left-hand sidebar.
- Click the blue Create a volume button.
- Name your volume
n8n_data. - Click Create.
That's it! You now have a safe place to store your n8n data.
Step 2: Pull the Official n8n Docker Image
A Docker Image is a blueprint or a template that contains all the necessary code and dependencies to run an application. We need to download the official n8n image from Docker Hub.
- In Docker Desktop, go to the Images tab.
- In the search bar, type
n8nand press Enter. - The top result should be
docker.io/n8n/n8n. - Click the Pull button. Docker will now download the latest version of the image.
This might take a minute or two depending on your internet connection. Once it's finished, the image will appear in your list of local images.
Step 3: Configure and Run the n8n Container
Now we'll use the image we downloaded and the volume we created to launch our n8n instance.
- On the Images tab, find the
n8n/n8nimage you just pulled and click the Run button (play icon) next to it. - A configuration modal will appear. Click on Optional settings to expand the configuration options.
We will now fill in the settings based on the official n8n documentation.
Container Name & Ports
- Container name:
n8n - Host port:
5678(This means you'll access n8n in your browser at port 5678).
Volumes
- Host path: Type
n8n_data(Select the volume we created in Step 1). - Container path:
/home/node/.n8n
This links our persistent volume on the host machine to the directory inside the container where n8n stores its data.
Environment Variables
This section is for configuring n8n's behavior. Click the + button to add the following four variables one by one:
VariableValueDescriptionGENERIC_TIMEZONEAsia/JakartaSets the timezone for your n8n instance. Find your timezone on this list.TZAsia/JakartaA secondary timezone setting for compatibility. Use the same value as above.N8N_ENFORCE_SETTINGS_FILE_PERMISSIONStrueA security setting recommended by n8n.N8N_RUNNERS_ENABLEDtrueEnables features for sub-workflow execution.
Once all the settings are filled in, click the blue Run button.
Step 4: Access and Set Up Your n8n Instance
Docker will now create and start your container. You can click on the Containers tab to see your new n8n container running.
- Open your web browser.
- Navigate to
http://localhost:5678.
You will be greeted with the n8n setup screen. Here, you will create your owner account by providing your email and setting a password.
Congratulations! You now have a fully functional, self-hosted n8n instance running locally with Docker!
Important Note: Webhooks and Localhost
One key thing to remember about this local setup is that webhooks from external applications will not work out of the box. Services like Stripe, GitHub, or Slack cannot send data to a localhost address because it's not accessible from the public internet.
To solve this, you need to use a tunneling service like ngrok or Cloudflare Tunnels. These tools create a secure public URL that forwards traffic to your local machine. We will cover this in a future tutorial.


